Lesson 1 - Borders & Padding ft. INFINITE
I started with borders because it was like the easiest thing to start off with.
1. To put a border around a picture:

You need to type in the thinkness of it in the 'image' thingy, which is the image icon. (totally explaining)
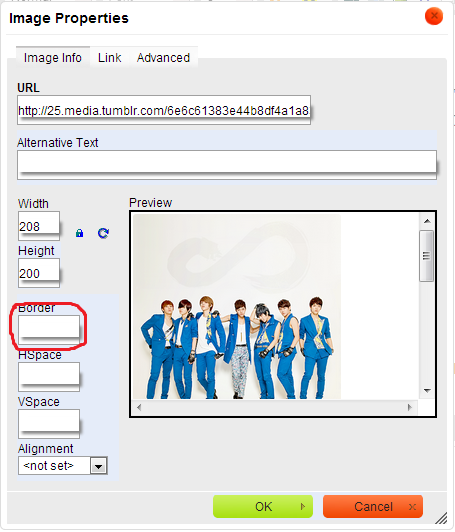
that thing.
2. Now type in the thickness. Let's say you typed in 5.
So now it looks like that! You have a border now~~
To change the colour, you have to use the text colours. Just click on the picture once and choose a colour!
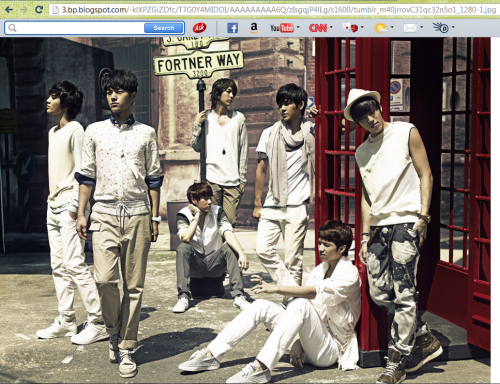
Padding:
Padding is used for borders. It sort of seperates the picture from the border. Like this:
See how there's a white gap? That's padding.
The steps for padding requires the source code and that sometimes confuses people.
The code for padding is after the 'border width'. You have to type in ' padding: (thickness)px; '

So that's my first lesson! Hope that it helped.
Getting the picture
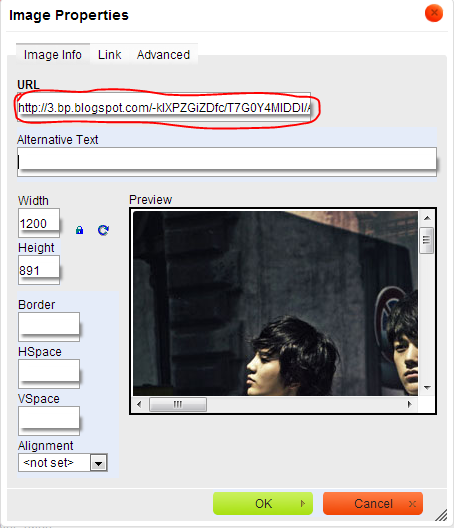
If you don't know how to get the picture, here are the steps.
1. Google search the picture you want.

2. Pick a picture.

3. Click on it.

4. Click the 'view original image' button.
5. It should look like this:
6. See the URL at the top? Copy that.

7. It should be blue which emans that it's highlighted. Hold 'ctrl' and 'C'. That will copy the link.

8. Now paste it into the image thingy.
Done! ^^
Comments
You must be logged in to comment.